
DIY Wedding Invitation Tutorial: A Complete 5-Step Guide from Design to Sending

In this era of Pinterest and Etsy, more and more couples are choosing to DIY their wedding invitations.
This isn’t just about saving money (although you can save an average of $500-$1000), but also about creating a unique keepsake. However, there are many easily overlooked details between the design on the screen and the exquisite envelope in the guest’s hand—especially that part that could ruin everything: mailing.
Don’t worry. We’ve compiled a 5-step, foolproof tutorial for you, from design to shipping, to help you avoid common pitfalls and create a professional yet cost-effective wedding kit.
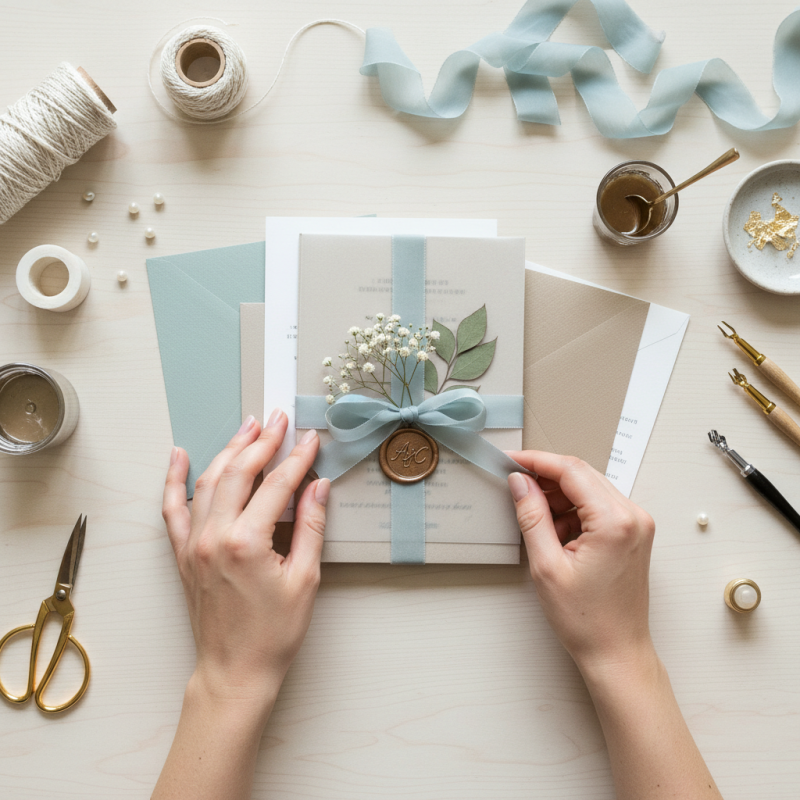
Step 1: Design and Templates (Design Smart)
You don’t need to be a graphic designer to create beautiful invitations.
Tools used: Canva is a couple’s best friend. It has thousands of free or low-cost wedding templates.
Purchase a workaround: Spend $10-$20 on Etsy to buy an editable digital template (Digital Download), and then modify the name and date to your liking with your color scheme.
Size recommendation: Stick to standard sizes whenever possible. The most common is 5×7 inches (fits A7 envelopes). Once you choose an irregular shape (such as a square), the subsequent postage costs will increase dramatically.
Step Two: Paper & Print
No matter how good the design is, it will look cheap if the wrong paper is chosen.
Paper selection: Look for cardstock paper weighing at least 100 lb or 270 gsm. Paper that is too thin will feel like a flyer in your hand.
Printing method:
Home printer: If you have a high-quality inkjet printer, you can try that.
Local print shops: Taking your design files to a FedEx office or a small local print shop is usually much cheaper than customizing online, and you can see a sample on the spot.
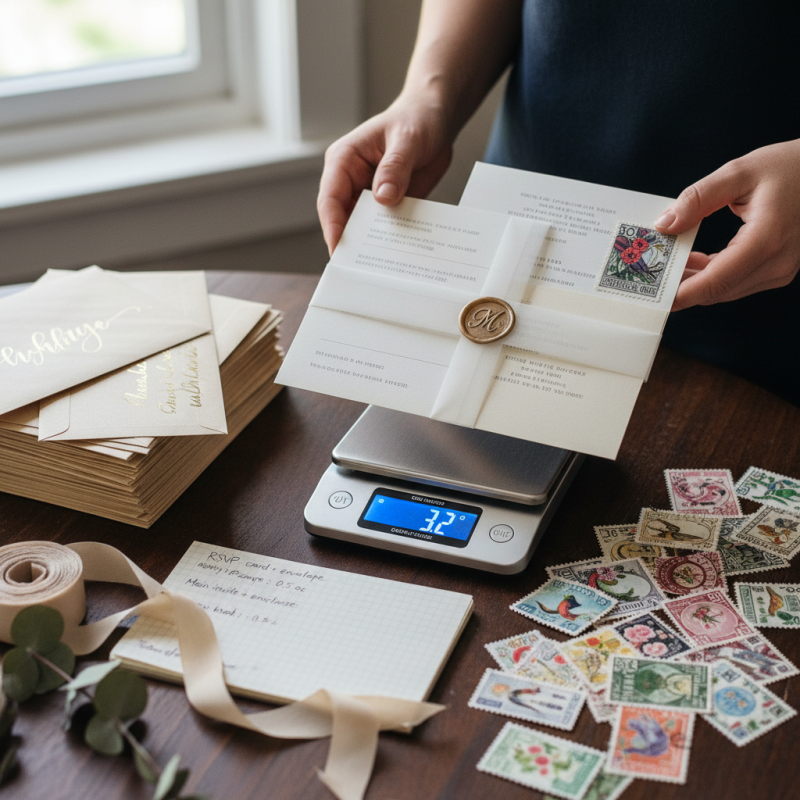
Step 3: Assembly—This is where the most pitfalls occur!
This is the most fun but also the most dangerous part of DIY.
Would you like to add ribbons? Dried flowers? Or a vintage wax seal? Please note: Any decoration that makes the envelope surface “uneven” will increase postage.
Wax sealing warning: If you must use wax sealing, it is recommended to seal it inside the invitation (i.e., on the inner envelope) rather than on the outermost envelope.
If sealed on the outside: You must pay a “non-machinable surcharge” of $0.40 per envelope. Otherwise, the machine may crush the wax seal or tear the envelope.
Step 4: Envelope and Addressing
Envelope selection: Purchase thicker, higher-quality envelopes to prevent the contents from leaking out.
Address writing:
Handwriting: If the handwriting is beautiful, this is the most elegant.
Transparent labels: Printing transparent address labels is the most labor-saving compromise.
Cricut Machine: If you have a hand-cutting machine, you can have it write calligraphy fonts for you.
Return receipt envelope (RSVP): Don’t forget to prepare a smaller envelope (usually 4 bar or A1 size) for your RSVP card and write your return address in advance.
Step 5: The Postage Strategy
This is where many DIY beginners go over budget. You save on design fees but end up spending it all on stamps.
1. Weighing is key.
Take a complete set of assembled invitations (including all cards, ribbons, and inner and outer envelopes) to the kitchen and weigh them.
≤ 1 ounce: 1 Forever Stamp.
> 1 ounce: Additional postage required (2oz stamp or one additional ounce stamp).
2. And most importantly, the money-saving step: buying discounted stamps.
Since it’s DIY, why pay the full price at the last step?
USPS Price: 100 Love series stamps cost approximately $73.
[ Sale Discount Stamp ] Price: 100 genuine stamps for only $35-$40.
Suggested use: Affix a beautiful [Love/Wedding Forever Stamp] to your outer envelope and a matching stamp to the RSVP envelope. By purchasing from us, you can easily reduce your postage costs by 50%.
3. Hand-Canceling
Bring your stamped invitation to the post office counter and politely request a “hand-cancel.” This means they will stamp it manually instead of sending the letter through a high-speed sorting machine. This will protect your beautiful envelope from getting dirty or damaged (although some post offices may not offer this service, it’s worth trying).
Conclusion: Enjoy the process
DIY wedding invitations are a form of “labor of love.” Although the process is tedious, the sense of accomplishment when you personally affix that beautiful stamp and drop it into the mailbox is unparalleled.
Don’t let expensive postage ruin your good mood.
Ready to ship?
[ Browse our Wedding & Love stamp collection (finish your DIY invitations perfectly and save 50%). ]